INTRODUCTION
Collagen is the most abundant structural protein in the extracellular matrix (ECM), accounting for 30% of the total body protein content in humans. Amongst the 28 types of collagen that have been already identified, collagen type I is the most abundant by far, playing its most prominent functional roles in tissues such as skin and bone.
Fibercoll-Flex bioinks are sterile solutions of highly purified, fibrillary collagen type I. Fibercoll-FlexN is a bioink made of acidic collagen type I fibers (telocollagen) from bovine dermis than can be easily neutralized immediately before printing. Due to its excellent biological and mechanical properties, Fibercoll-FlexN is ideal for many applications, including generation of complex tissue and tumor models through 3D bioprinting. This bioink is printable at physiological conditions of pH and temperature, thus enhancing cell survival during the bioprinting process. No crosslinking steps are required.
The present protocol describes the materials, equipment and steps required to fabricate Fibercoll-FlexN cell-laden scaffolds using extrusion-based 3D bioprinting.
MATERIALS
Reagents and consumables
- FiberColl-FlexN bioink kit including:
- 3 ml FiberColl-FlexN loaded in a 5 ml syringe
- Two sterile eccentric 10 ml syringes
- One sterile female-female luer connector
- One sterile 20G needle
- 1 vial with 2 g of Trizma in powder format
- Sterile distilled water
- Magnetic stirring bar
- 5 cc bioprinting syringe
- 5 cc red adjustment piston
- 20G stainless steel straight dispensing tip
- Cells
- Complete cell culture media
- 1X Phosphate-Buffered Saline (1X PBS)
- Trypsin/EDTA solution
- Culture dish
- Serological pipettes
- Tips for micropipette
- Live/Dead viability/cytotoxicity kit
- Trypan blue solution
Equipment required
- REG4Life 3D bioprinter
- Class 100 laminar flow cabinet
- Biosafety cabinet
- Cell culture incubator
- Centrifuge
- Magnetic stirrer
- pH meter or pH indicator strips
- Micropipette
- Pipetor
- Hemocytometer
METHODS
Recommended FiberColl-FlexN working concentrations for extrusion-based 3D bioprinting range between 2-3%. To prepare a bioink at 3% collagen content, mix elements following a relation of 3:1:1 (3 ml FiberColl-FlexN : 1 ml neutralization buffer : 1 ml cell suspension). Nonetheless, depending on the intended purpose, stiffness of the bioprinted product can be regulated by adjusting Fibercoll-FlexN working concentration. For further dilutions, dilute neutralized FiberColl-FlexN in a higher volume of cell culture media.
Steps from 1.2 onwards must be performed inside a laminar flow cabinet, using sterile materials/reagents and following aseptic techniques.
- Neutralization of FiberColl-FlexN:
- Prepare a 1.5 M Tris-HCl solution by dissolving 2 g of Trizma in sterile distilled water. Adjust pH to 7.4-7.5 with concentrated HCl
- Filter 1.5 M Tris-HCl solution through a 0.22 µm pore size filter
- Transfer 1 ml of 1.5 M Tris-HCl solution into the sterile 10 ml syringe and push plunger in until a small drop appears at the tip
- Remove the syringe cap from the syringe containing FiberColl-FlexN and slowly push plunger in until a small droplet of collagen forms at the tip of the syringe
- Connect the syringe containing the buffer for neutralization to the syringe filled with FiberColl-FlexN solution. Ensure that there are no air bubbles
- Push plunger back and forth up to 100 times for a homogeneous mixture, avoiding bubble formation. The collagen solution is now neutralized and ready for bioink preparation. Ensure that a small drop of FiberColl-FlexN solution is in the tip of the syringe and that there are no air bubbles before proceeding with step 2.2.
- Preparation of bioink at a 3% collagen content
- Harvest cells, count them in a hemocytometer, centrifuge and resuspend pellet in complete cell culture media. Adjust cell density within recommended range (see next step)
- Mix neutralized Fibercoll-FlexN with cells in a 4:1 proportion. Recommended cell densities are 0.1-1×10⁶ cells/ml of bioink (e.g. 4 ml of neutralized Fibercoll-FlexN with 1 ml of cell suspension containing 5×10⁶ cells). To that end:
- Connect the 20G gauge to the 10 ml syringe and aspirate cell suspension. Remove the 20G gauge from the syringe and push plunger in to eliminate bubbles and until a small drop of cell media forms at the tip of the syringe.
- Connect the syringe with cells to the syringe containing neutralized FiberColl-FlexN solution through the luer connector.
- Slowly push plunger back and forth up to 50 times. Disconnect syringes and make sure that the connector remains on the syringe with the mixture.
- Transfer the bioink to a 5 cc syringe compatible with a REG4Life 3D bioprinter (REGEMAT 3D). The bioink is now ready for the generation of cell-laden scaffolds through 3D bioprinting.
- 3D bioprinting of FiberColl-FlexN cell-lladen scaffolds:
- Turn on the laminar flow cabinet, switch on the REG4Life bioprinter and launch REGEMAT 3D Designer Software (REGEMAT 3D)
- Connect the syringe containing the cell-laden bioink to a 20G ID stainless steel straight dispensing tip and place it in the printhead
- Proceed with the laser calibration by choosing the corresponding tool/printhead in “Header Configuration” and by clicking “Calibration” in the REGEMAT 3D Designer Software. Ensure that the glass bed is installed on the printing platform
- Remove the glass bed, insert the petri dish into its adaptor and then secure it on the printing platform. Adjust the distance between the tip of the syringe and the surface of the printing bed to approx. 0.30 mm clicking “Header Configuration” and “Fine Calibration”.
- Once the bioprinter is calibrated, proceed with the generation of 3D constructs by loading the .stl file or the Gcode.
- Add enough cell culture media to cover the entire construct and keep in a cell culture incubator at 37ºC and 5% CO2.
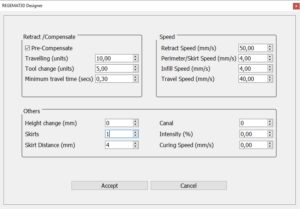
The following bioprinting parameters have been optimized for generating porous cubic FiberColl-FlexN scaffolds containing human primary skin fibroblasts at a density of 1×10⁶ cells/ml of bioink and at a concentration of 2.5% collagen.
Object configuration
Extra configuration
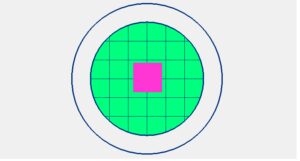
Printable object

RESULTS
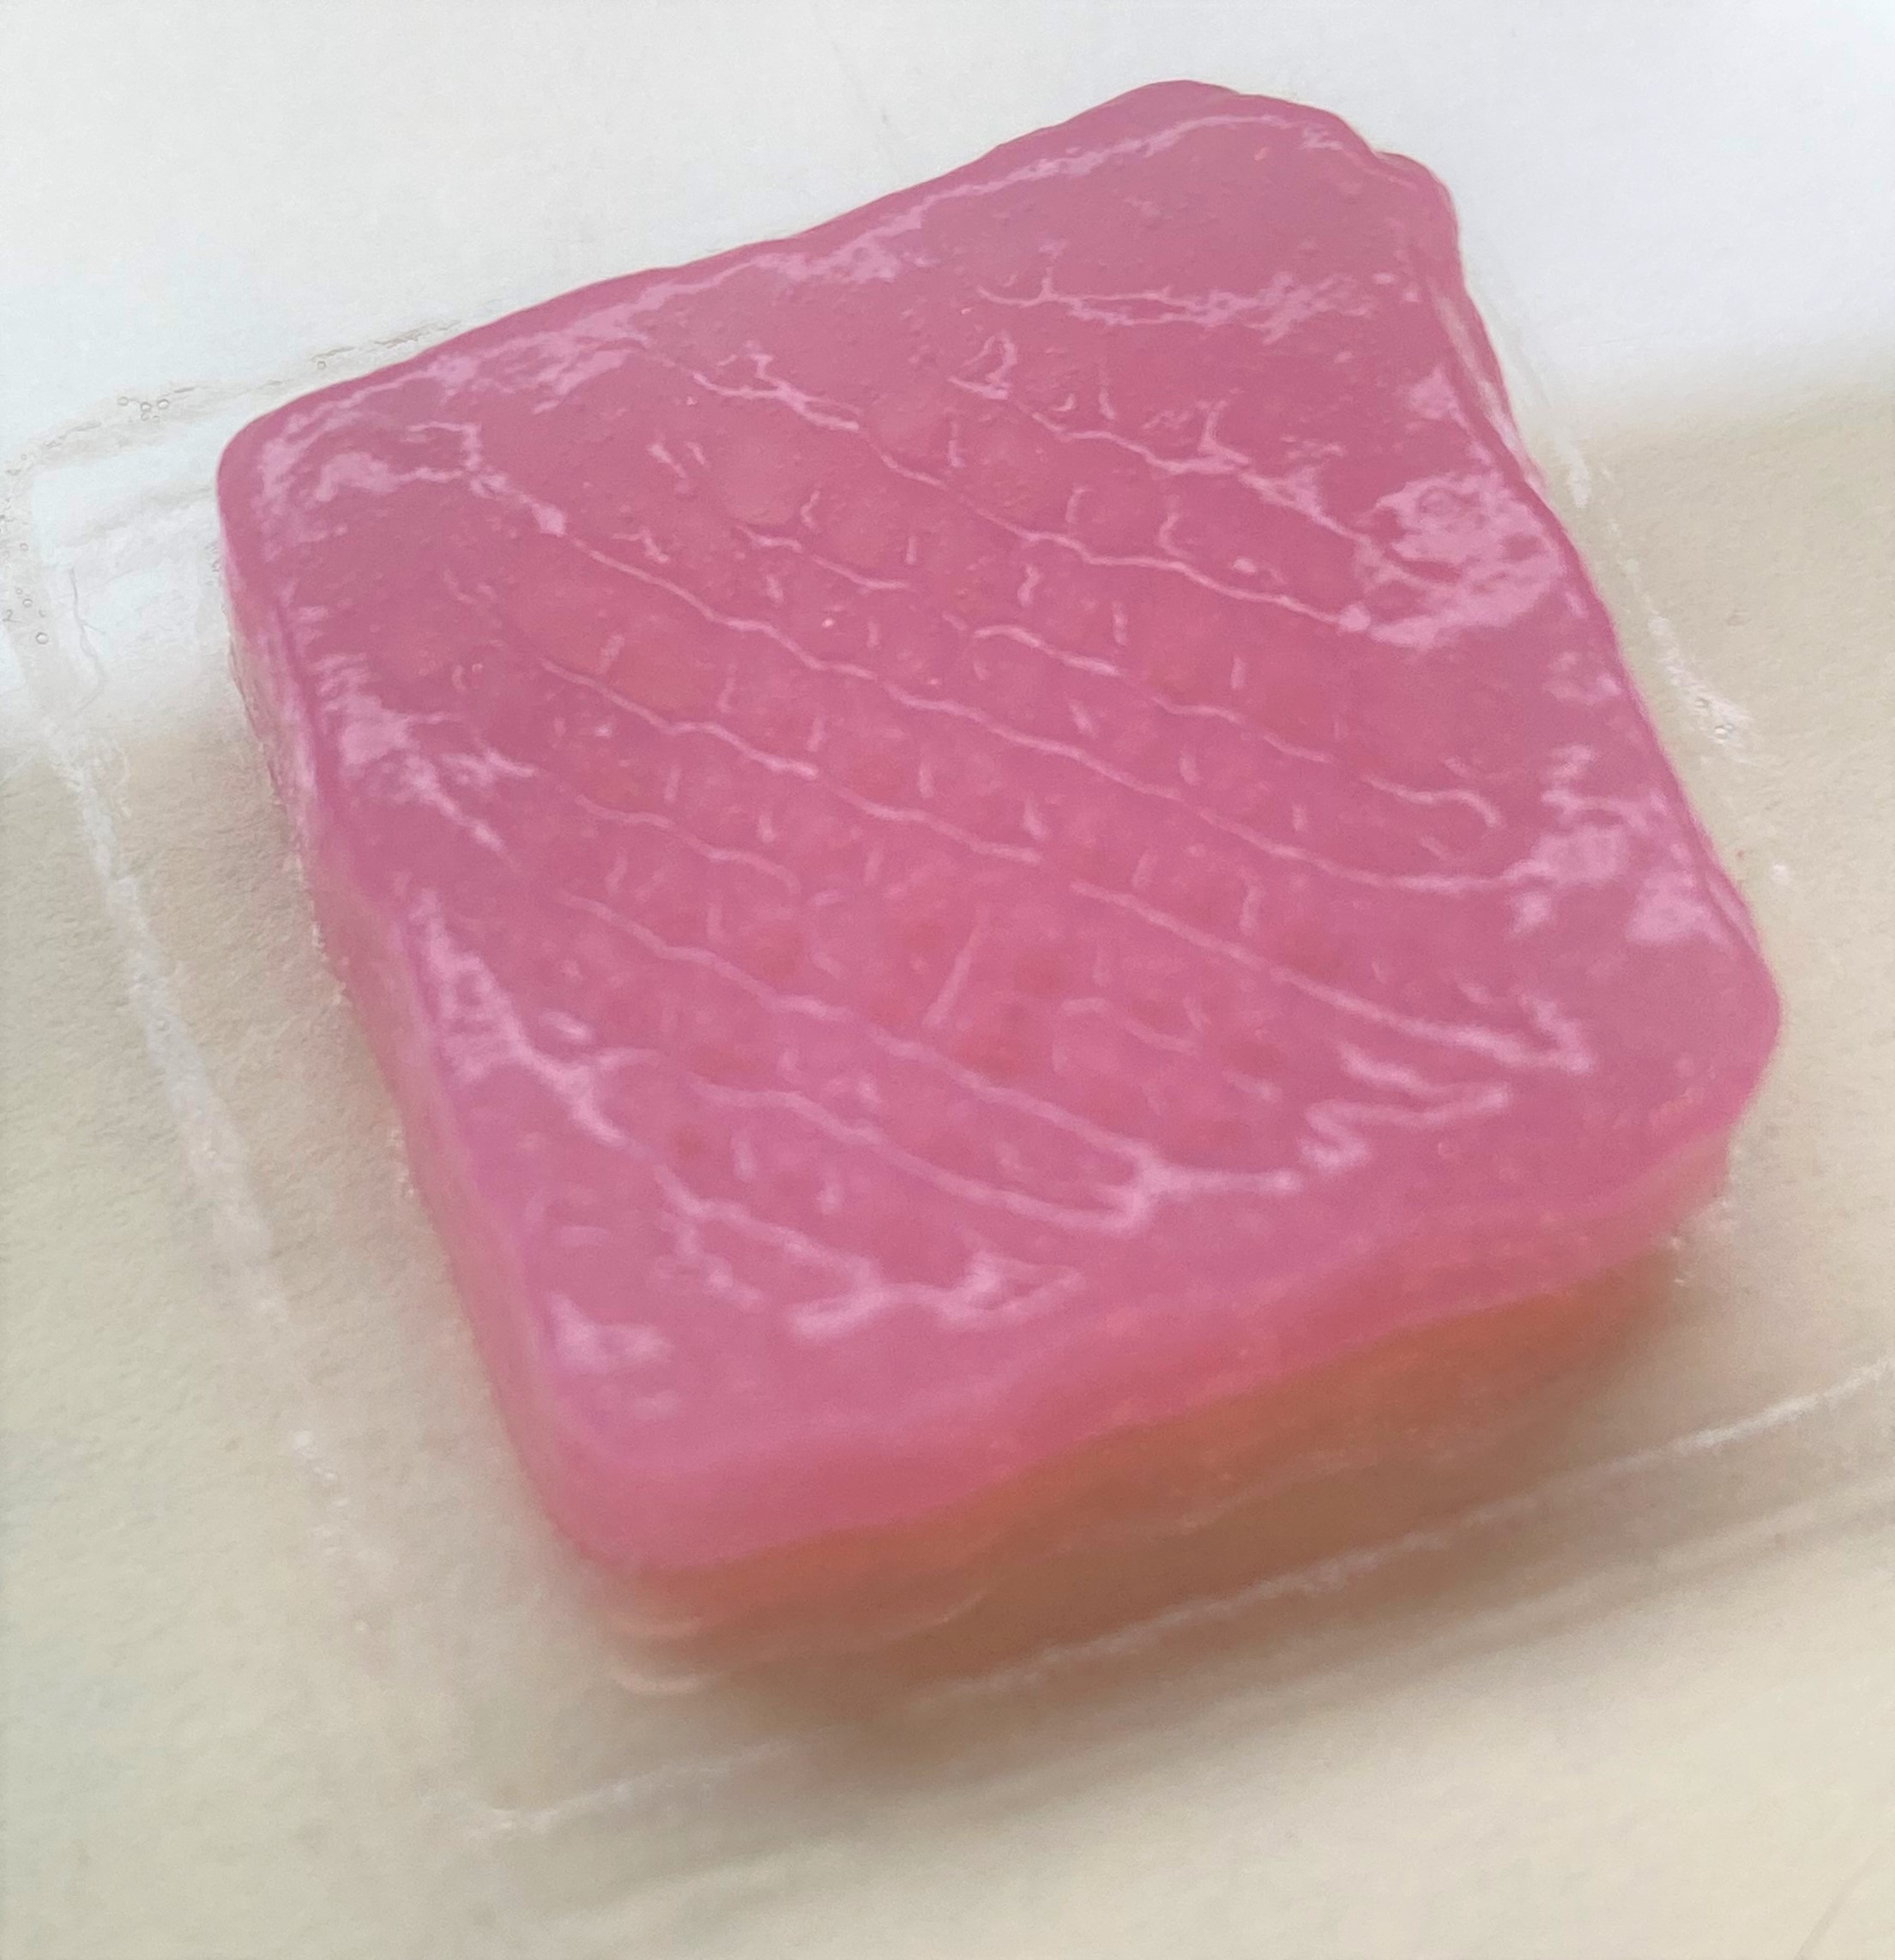
3D construct

Figure 1. Macroscopic image of a cubic FiberColl-FlexN scaffold after the 3D bioprinting process. The scaffold contains human primary skin fibroblasts at a density of 1×10⁶ cells/ml of bioink and a concentration of 2.5% collagen.

Figure 2. Representative images of Live/Dead cell viability assays acquired with a Zeiss LSM 710 confocal laser microscope in solid cylindrical scaffolds (10 mm diameter x 1 mm height). Human primary skin fibroblasts display high viability, enhanced proliferation and typical spindle-like morphology at day 7 after bioprinting in Fibercoll-FlexN hydrogel with the REG4Life bioprinter. Nuclei were stained with Hoechst 33342. Detailed protocol for Live/Dead+Hoechst staining can be found in the labmethod “Scaffold biocompatibility assessment”.
REFERENCES
- García-Villen et al. Int J Bio, 2023;9(3):712
| Number | Category | Product | Amount |
|---|