INTRODUCTION
Chitosan (CS) is a naturally derived semicrystalline polymer that is obtained by partial deacetylation of chitin under alkaline conditions [1]. It is one of the most widely used materials to prepare hydrogels due to its excellent biocompatibility, nontoxicity, and biodegradability [2]. Furthermore, it dissolves in dilute acids through the protonation of its free amino groups, allowing its processing into different gel formulations by sol-gel methods.
The present protocol describes the materials, the equipment and the steps required to print CS 3D-scaffolds using extrusion-based 3D-printing (REGEMAT3D BioV1 or REG4Life Bioprinter).
MATERIALS
Reagents and consumables:
- Chitosan (low molecular weight, deacetylated chitin, Poly(D-glucosamine))
- Distilled water
- Acetic acid
- 5 cc bioprinting syringe
- 5 cc white/red adjustment piston
- 0.58 mm nozzle (pink tip)
- 100 mm diameter petri dishes
Equipment required:
- REGEMAT3D Bio V1 Bioprinter / REG4Life 3D bioprinter
- Centrifuge
METHODS
Preparation of a chitosan 3D-printable hydrogel
- Dissolve low molecular weight chitosan at a concentration of 7% (w/v) in distilled water containing 3% (v/v) acetic acid. At this point, chitosan should starts gelifying.
- Mix the solution mechanically for 24h (250 rpm).
- Charge the solution into a 5-cc syringe with the help of a spatula.
- Centrifuge the syringe (3000 rpm, 20 min) to remove air bubbles.
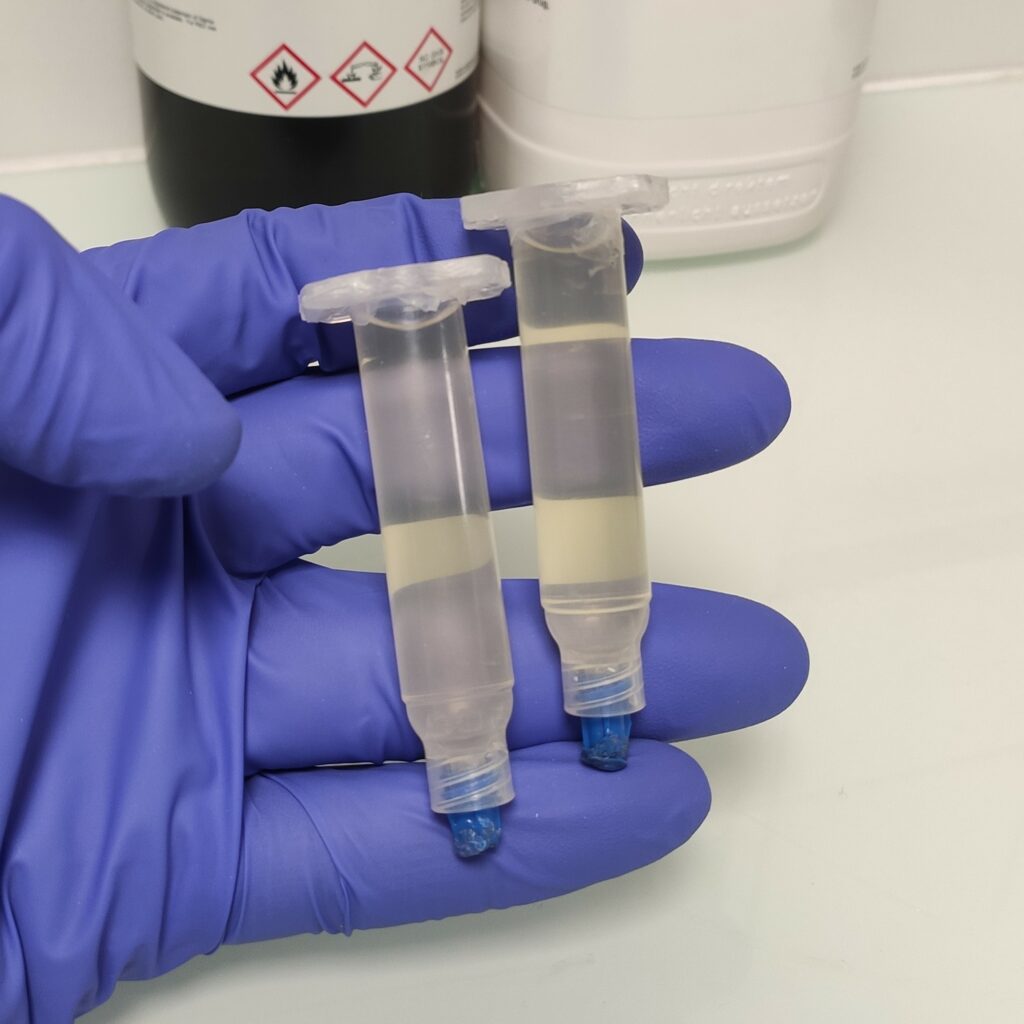
Fig. 1. 5 cc syringes loaded with 7% CS hydrogel after centrifugation
3D printing of chitosan scaffolds:
1. Switch on the bioprinter, connect it to the PC and launch the REGEMAT 3D Designer Software. Then click the “Connect” button.
2. Load the 5-cc syringe containing the 7% CS hydrogel in the printhead (T0 in this example).
3. Calibrate the syringe by pressing Settings > Header configuration. Select the tool “Syringe 5 cc” in the corresponding printhead allocation (T0) and perform the calibration. Press “Accept” and then do a Homing by clicking the XYZ button in the “Movements” tab.
4. Remove the glass bed, insert the 100 mm diameter cell culture dish into its adaptor and then secure it on the printing platform.
5. Configure the printing bed by pressing Settings > Platform configuration. Then select “Petri dish”, and indicate its diameter (set the value to 99,99). Press “Accept”.
6. Adjust the distance between the tip of the syringe and the surface of the printing bed to approx. 0.25-0.30 mm by clicking “Header Configuration” and T0 “Fine Calibration”. Press “Accept” and then do a Homing by clicking the XYZ button in the “Movements” tab.
7. Specify T0 nozzle diameter (0.58 mm) in the “Tool configuration” section within the “Object viewer” tab. Then, load the .stl file to be printed (noseprint_fix.stl) and use the following object configuration:

Fig. 2. Object configuration for printing “noseprint_fix.stl”.
8. The following printing parameters can be used in Settings > Extra configuration:
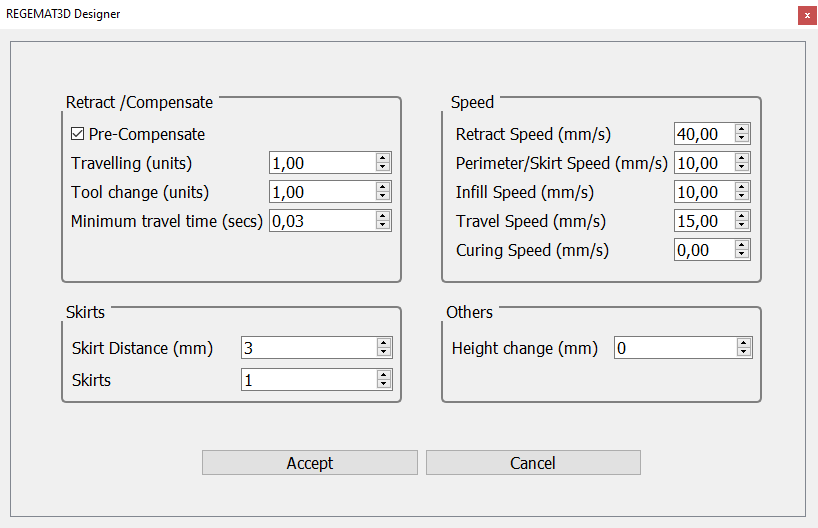
Fig. 3. Extra configuration for printing “noseprint_fix.stl”.
9. Select “Printable Object” to generate the G-code and then clicking “Start Print button”.
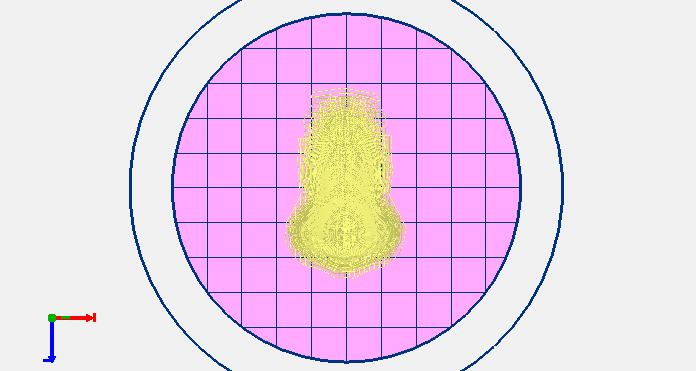
Fig. 4. Printable object obtained (slicing)
10. Once the print has finished, fill the petri dish with NaOH 1M (ensuring that it covers the totality of the scaffold) and leave it for 2h to allow neutralization.
11. Detach the scaffold from the petri dish with the help of a spatula and rinse it three times with PBS or demineralized water in order to remove NaOH and residual acids.
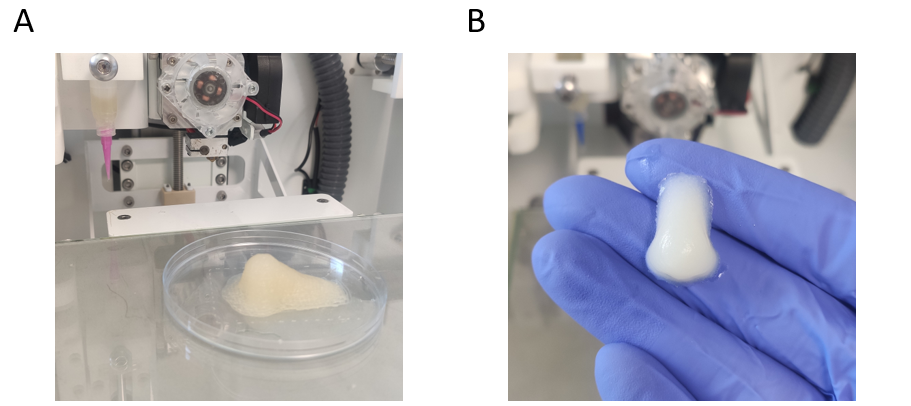
Fig. 5. Printed chitosan nose before (A) and after (B) neutralization. As can be seen, the total volume of the scaffold decreased significantly after neutralization. (C) Manipulation of the scaffold obtained.
| Number | Category | Product | Amount |
|---|
10 thoughts on “3D printing anatomical models using chitosan hydrogels”
excellent work Ivan !